
I know that there are special machines you can buy, and even special starters you can buy so that you can make yogurt at home...but this is how I make yogurt every week, with nothing more technical than a colander........lots of pictures, very few instructions and no measurements required - now that's my sort of recipe! :-)


Pour the hot milk into a bowl.

Cover it with a tea towel to stop anything nasty falling in...and let it cool down a bit. I set the timer for half an hour to start off with.

It has reached the right temperature when you can hold your pinky in there for a fairly fast count of 10 ( probably about 5 seconds) It needs to be cool enough not to kill the good yogurty bacteria, but warm enough to encourage them to multiply. The 10 count pinky test has never failed for me.

Now add in a dollop of yogurt...I usually save a tablespoon of last weeks yogurt as a starter for this weeks batch...but this week I scoffed the lot and had to buy a little pot.

I scoffed 2/3s of this pot and put the last bit into the new batch.. if you are buying a pot, just choose one that isn't flavoured and says things like natural, live, bio....it's the good buggys that you need:-)

Give it a bit of a whisk so the yogurt is well mixed through.

Cover it with cling film.

Snuggle it up and keep it warm...here I've wrapped it in a towel and stuck it on the top of the Rayburn, but it works just as well in the airing cupboard or even on the kitchen table wrapped up in a couple of extra layers (I've used jumpers and ponchos in the past). It needs a few hours to turn into yogurt...I usually do this in the evening and leave it overnight. In the morning you will have yogurt! You can stop right there if you wish and just pop the bowl in the fridge in the morning and use as normal. I like thick yogurt ( oh all right, I like REALLY thick yogurt...I want the spoon to stand up on its own!) so for thicker yogurt follow the next steps too.....

Take one bowl.....

Add one colander...

Line the colander with a clean teatowel.

Pour the yogurt into the tea towel...

Cling film back on...
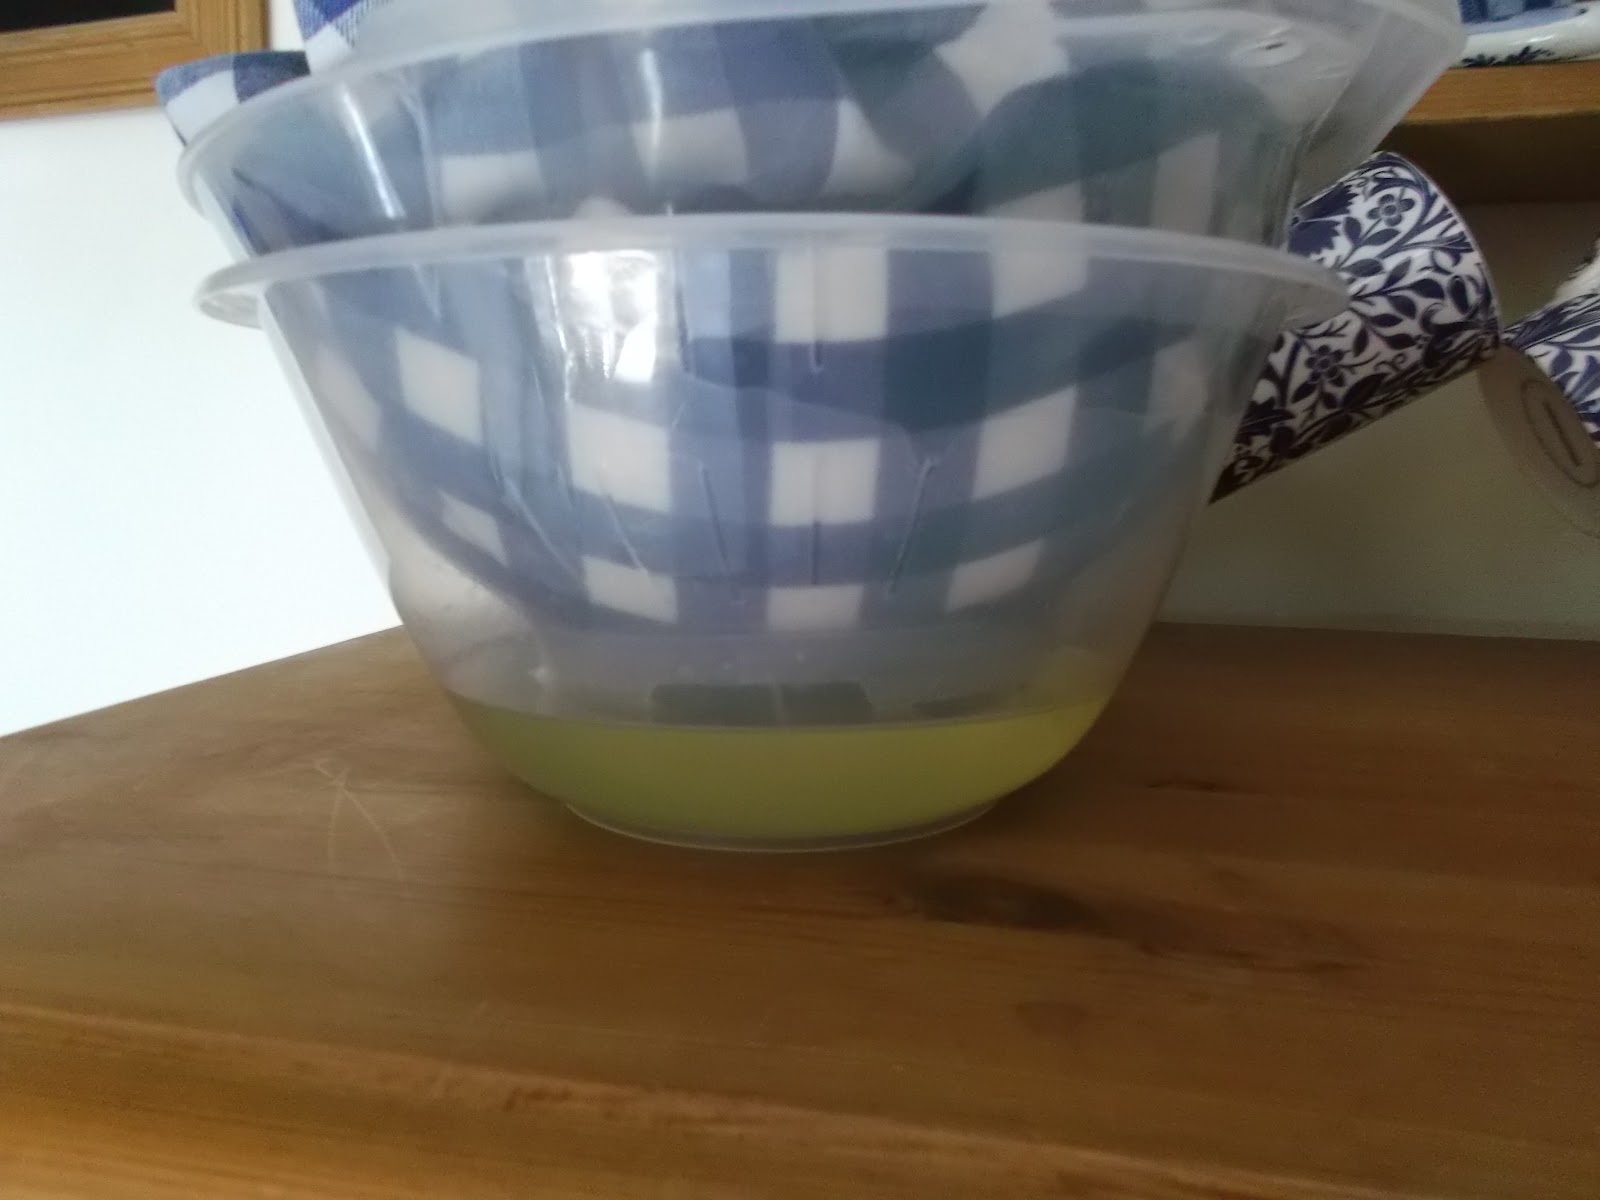
Add let it drain until you feel the yogurt is thick enough (all day for me :-) ) That is the whey collecting in the bowl.....if you think your yogurt is TOO thick (surely not!) you can stir a little whey back in to loosen it up again.

Here's mine after it has been draining all day...see how much further down it has sunk? Mine is so thick I can just tip it and roll it off of the tea towel into a tub - for thinner yogurt you would need a sppon to transfer it over.

Tadah!!!! Here's my yogurt ready for the fridge. I like to take a pot of yogurt with a big dollop of honey in it to work each day....us ole ladies need the calcium dontyaknow!!
Why not give it a try and let me know how you get on...Ethan...that pinky needs to be CLEAN before it gets dunked in the milk :-) ...just saying...
I love making yoghurt, but a while back I found out you can leave out the boiling up, and cooling down (plus little finger test), by using 'long life' milk. This, you see is already sterilised and doesn't need a boil-up. All the rest is the same, as you show so well.
ReplyDeleteI, myself would skip the honey as I'm trying (always & failing) to lose weight!
Cheers....Bernard
Ooohh...I'll have to give that a try...so does it work just at room temperature?
DeleteNot todays room temperature! :(
DeleteIt's freezing here in Bucks., so I guess Wilts. is about the same.
I expect it needs to be kept warm. I have a yoghurt maker, which is actually just six small jars standing on a 'heat-pad'.I did once look up (ont' web) the minimum room temperature, but (as a senior) I've forgotten where I wrote it down.
Cheers...B
I haven't made any for a while, your method is so easy, I must have a go. Thanks for that reminder.
ReplyDeleteOoooo Ilona, I'd be honoured if you tried it ;) *curtsy*
DeleteLet me know how you get on..
Wow I didn't realize how easy it is. I like the pinky test :) Ali x
ReplyDelete